
An inflatable pool that tilts by a few centimeters poses a real mechanical problem: the water pressure is distributed asymmetrically on the inflatable ring or structure, which accelerates the wear of the liner and can cause permanent deformation. Straightening the pool without completely emptying it has become a practical necessity, especially since the water restrictions imposed by drought orders in France during recent summers.
Comparative Straightening Methods: Effectiveness and Limitations Based on Soil Type
Not all techniques are equal. The result depends as much on the chosen method as on the surface on which the pool rests. Feedback from specialized forums since 2020 shows that composite slabs or terraces on pedestals pose the most problems, as they deform under load and heat, even when the ground seemed perfectly level at installation.
Related reading : Top Beaches to Discover Around Kuta Lombok for an Unforgettable Stay
| Method | Soft Soil (earth, grass) | Hard Soil (concrete slab, tiles) | Composite/Pedestals |
|---|---|---|---|
| Rigid wedges under the base | Effective if the soil is compacted beforehand | Very effective, stable correction | Risk of puncturing the composite |
| “Wave + lever” method | Effective, requires two people | Poorly suited (base slides poorly) | To be avoided (deformation of the pedestals) |
| Adding sand under the base | Durable correction if sand is compacted | Not directly applicable | Not applicable |
| Partial drainage + repositioning | Effective but consumes water | Effective | Effective if pedestals are checked |
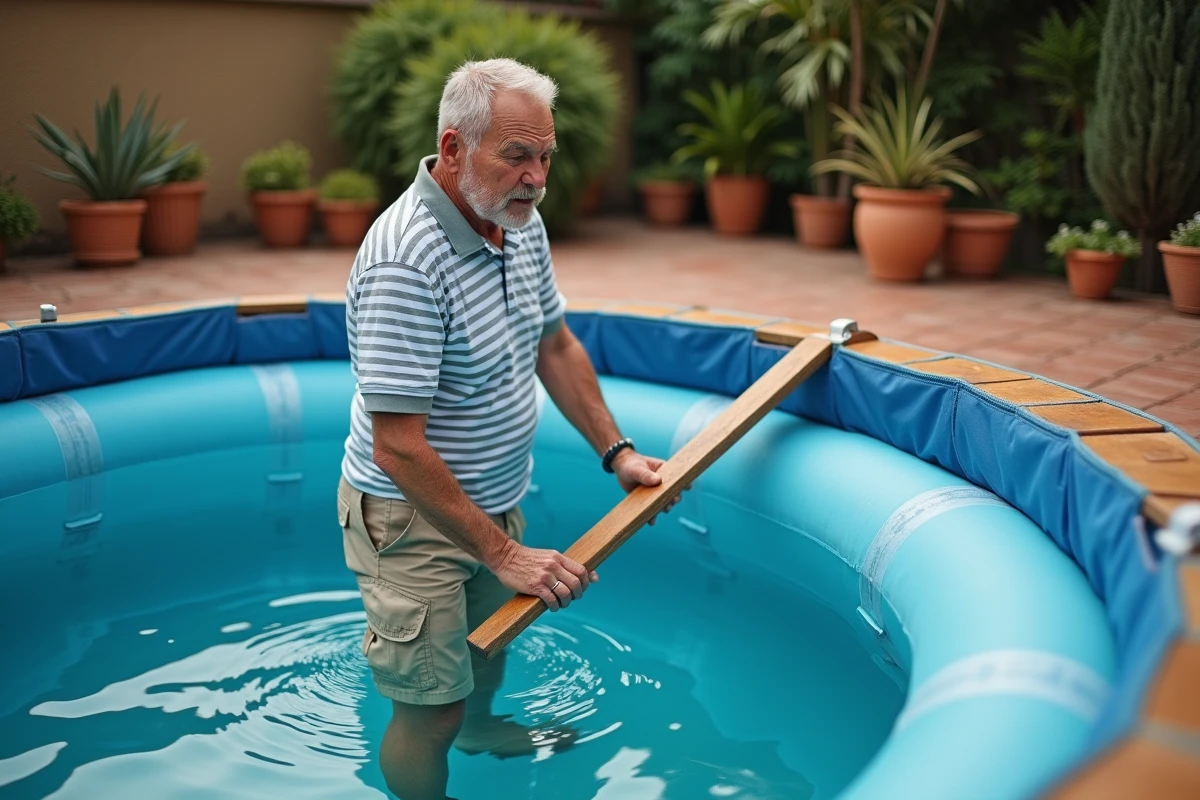
The combined “wave + lever” method, increasingly documented in DIY groups, involves creating an internal wave to partially move the mass of water while sliding wedges or a jack protected by a board under the outer wall. It works well on soft soil, provided there are two people to coordinate the movement.
Before applying any of these techniques, it is useful to understand how to straighten an inflatable pool without emptying it by properly preparing the ground and accurately identifying the sunken side.
Further reading : Traveling Differently: Tips and Inspirations for Unforgettable Getaways
Inflatable Pool on Sloped Ground: Correcting Without Complete Drainage
On slightly sloped ground, the temptation to empty the pool to start over is strong. The drought orders adopted by many prefectures since 2022 encourage seeking alternatives. Draining several hundred liters is sometimes necessary, but a partial drainage of one third of the volume is sufficient in most cases to relieve pressure and reposition the base.
The concrete procedure on soft soil follows a precise order:
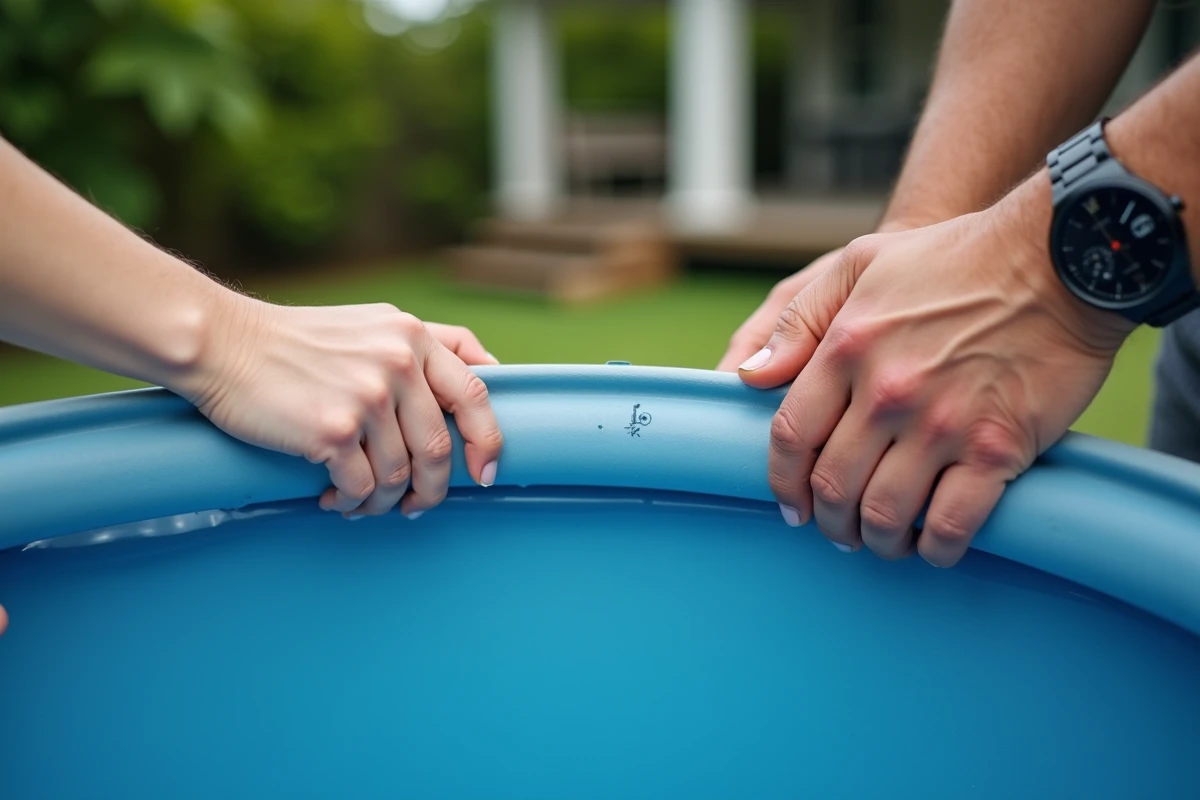
- Identify the lowest side using a bubble level placed on the upper ring, then mark the area on the ground to be raised.
- Partially drain the pool through the drain plug until you can lift the sunken edge by a few centimeters.
- Slide a layer of compacted sand or treated wood wedges under the base, checking the level after each addition.
- Gradually refill while monitoring the horizontal alignment of the ring at each filling stage.
On hard soil, high-density polyethylene rigid wedges yield better results than wood, which can splinter under load in case of late frost or high heat.
Manufacturer’s Warranty and Inclination: An Often Overlooked Point
The updated manuals from major inflatable pool manufacturers (Intex, Bestway) specify a point that practical guides rarely mention: any inclination greater than a few centimeters generally voids the warranty in case of deformation or breakage, even if the pool remains usable on a daily basis.
This detail changes the game for owners who hesitate to intervene. A pool that tilts slightly may seem functional for weeks, but in case of a liner crack or ring break, the manufacturer will refuse coverage if the inclination is documented.
The reflex to adopt: photograph the pool level after each correction, with a visible bubble level in the shot. This simple proof can make a difference in case of a claim.
Composite Terrace and Pedestals: The Trap That Deforms the Inflatable Pool
Installing an inflatable or self-supporting pool on a composite terrace on pedestals represents a particular case that generates increasingly negative feedback. The composite deforms under load and heat, creating localized sinking that the owner does not detect until filling.
The problem is structural: the pedestals support the terrace at points, not continuously. The weight of the water (several hundred kilos for an average-sized pool) concentrates on the composite slats between two pedestals, which gradually flex. The pool starts to tilt after a few days, sometimes just a few hours in full sun.
Checks Before Installation on Pedestals
Before placing an inflatable pool on this type of surface, three checks limit risks:
- Check the spacing of the pedestals: the closer the pedestals are, the better the load is distributed. A spacing greater than about forty centimeters between pedestals is often problematic.
- Place a distribution plate (marine plywood or waterproof OSB panel) under the entire base of the pool to distribute the weight.
- Measure the level of the terrace at several points with a laser level or a long bubble level, in full sun and not in the shade (heat alters the flatness of the composite).
If the terrace already flexes under the weight of a person in certain areas, the ground is not suitable for an inflatable pool without reinforcement.
Straightening an inflatable pool relies less on the chosen technique than on the initial diagnosis of the soil. A successful correction on grass with wedges will fail on composite if the pedestals do not follow. Checking the level of the support surface before filling remains the most effective measure to avoid having to correct afterward.